
Guild Wars 2 · World vs World
Gamma’s Helpful
Siege Guide
BLUB’s field guide to siege placement. We’re scouting build sites, testing shots and recording what each spot can hit.

Eternal Battlegrounds
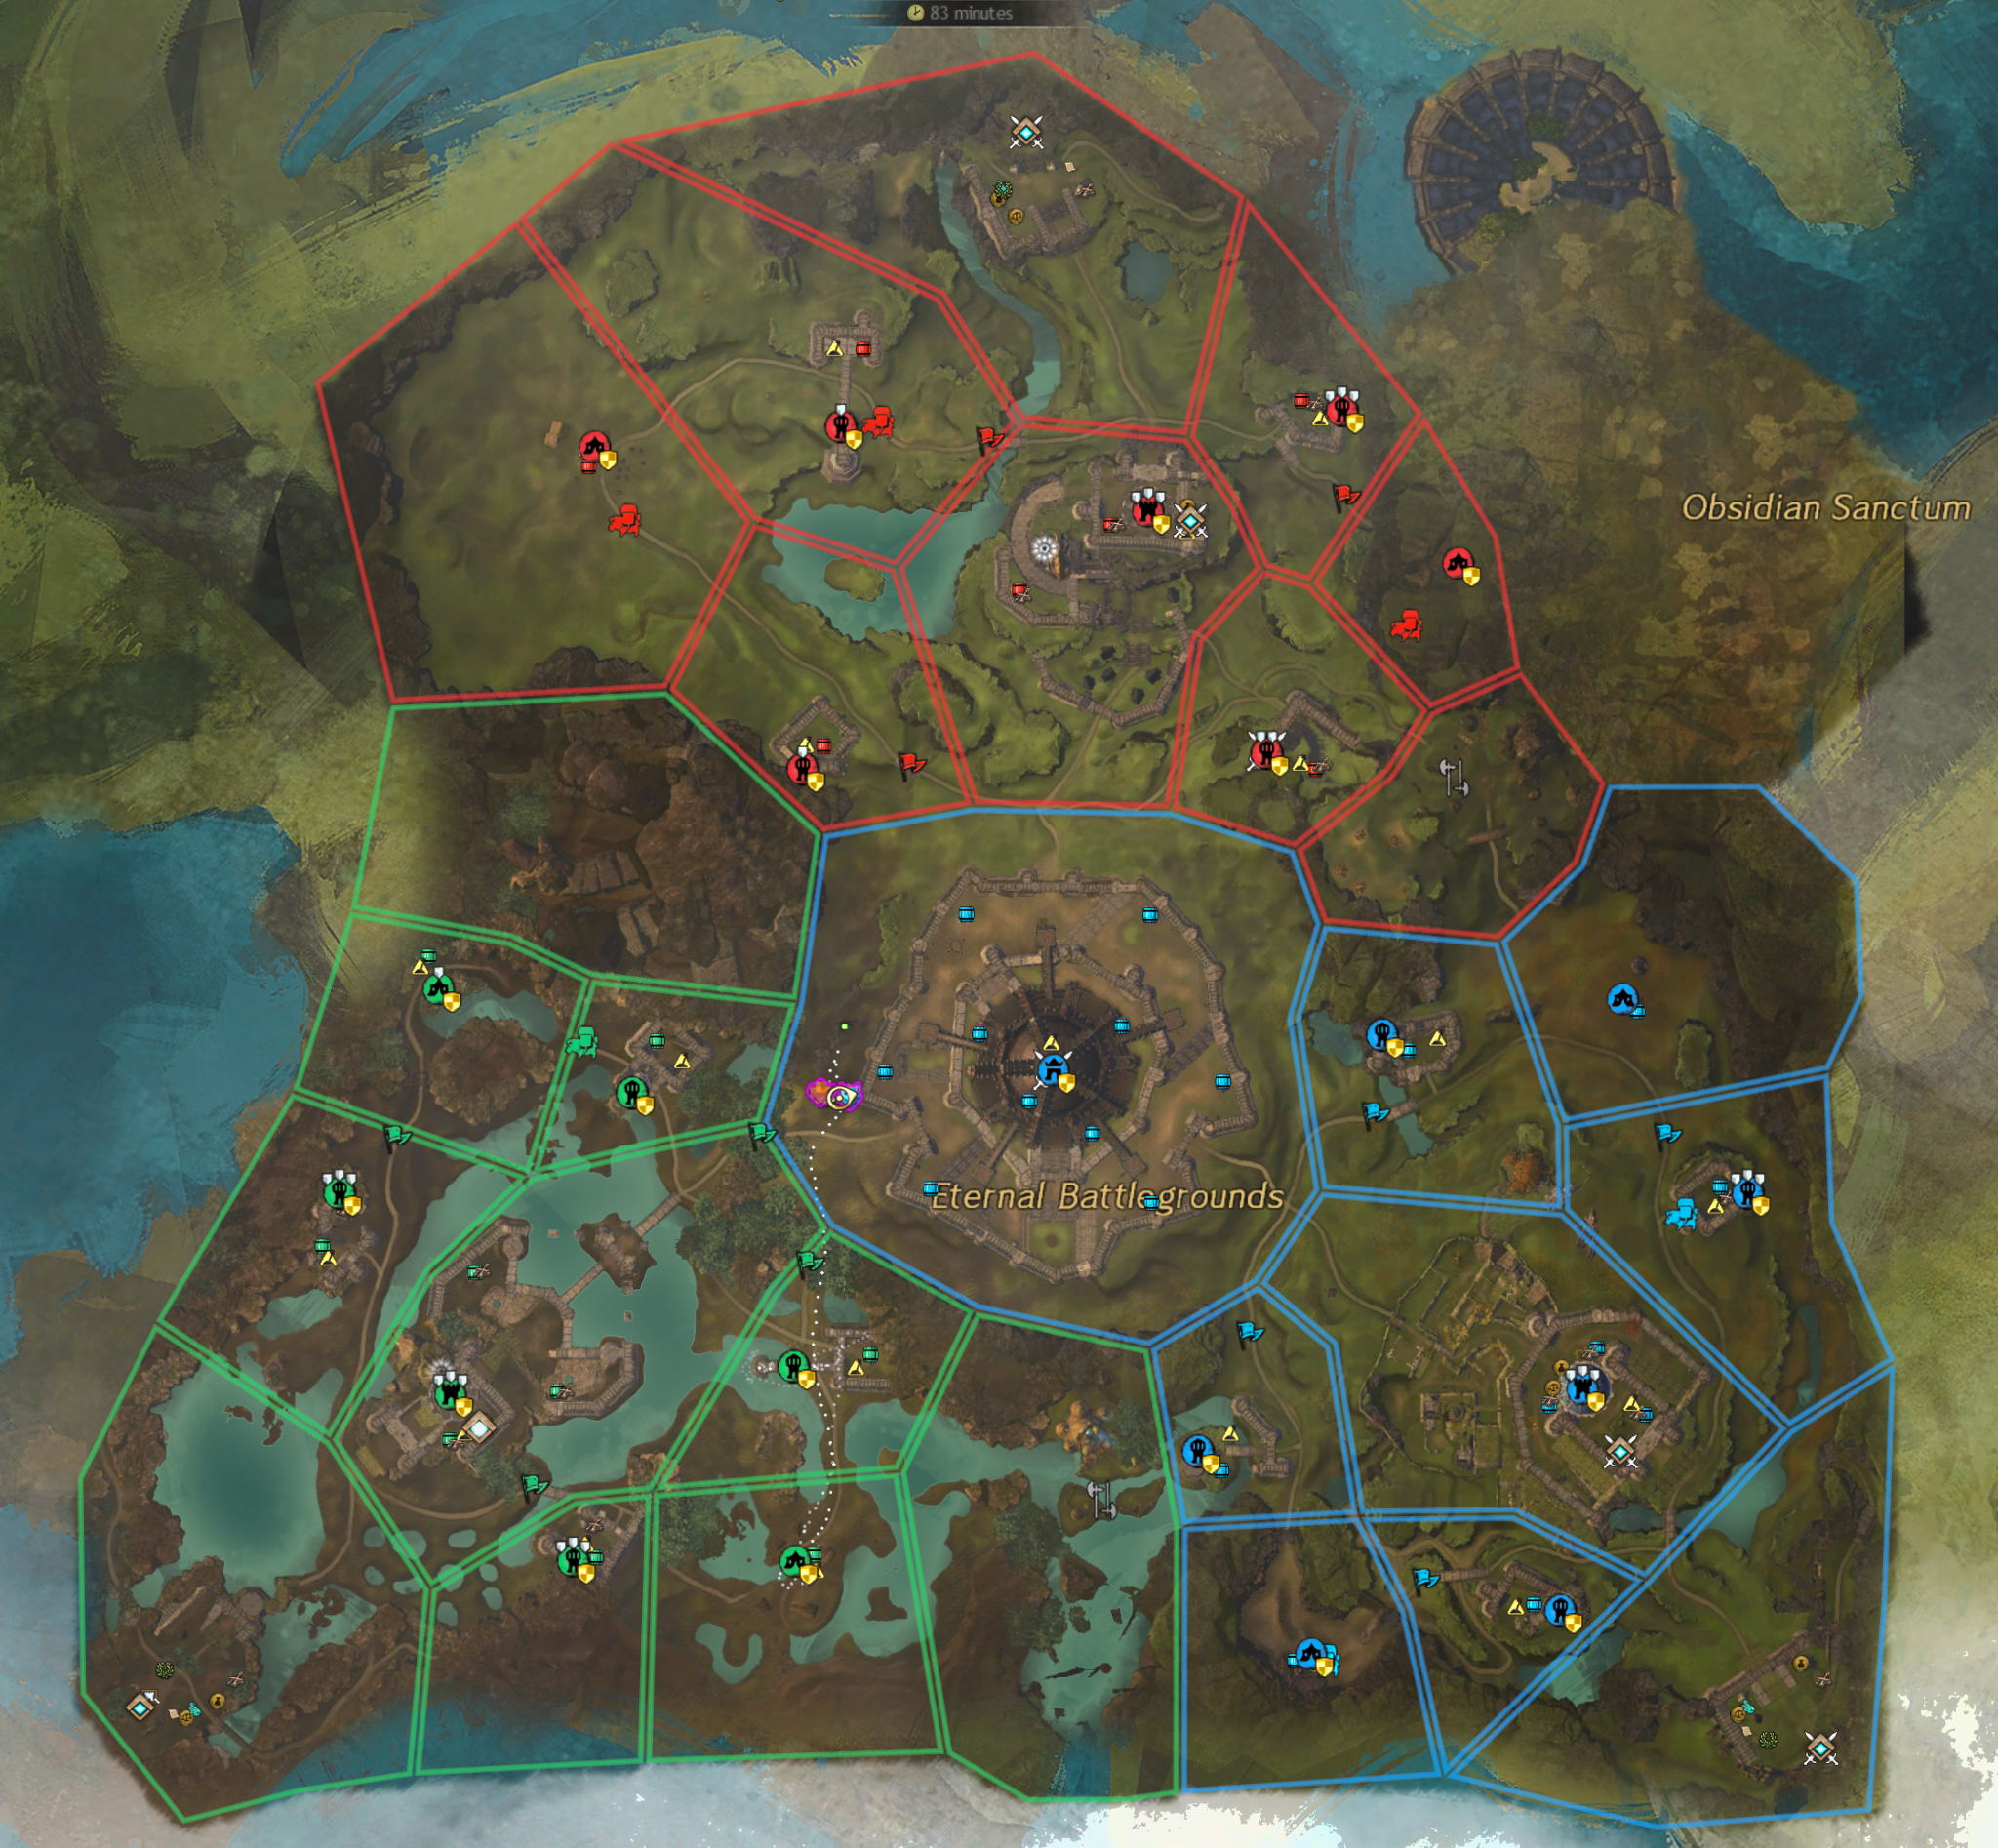
Work in Progress
We’re scouting tower and keep approaches, Stonemist double-wall shots and spots that use cliff splash.
Blue Alpine Borderlands
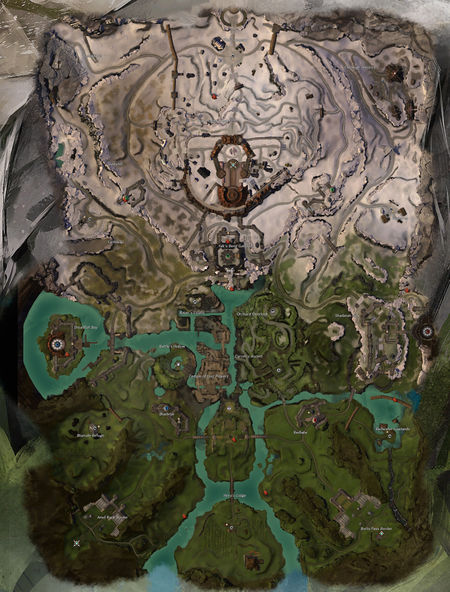
Work in Progress
We’ll record build sites around Bay, Hills, Garrison and the towers, including which walls each shot reaches.
Green Alpine Borderlands
Work in Progress
We’ll cross-check shared approaches and record the objective names used on Green.
Red Desert Borderlands
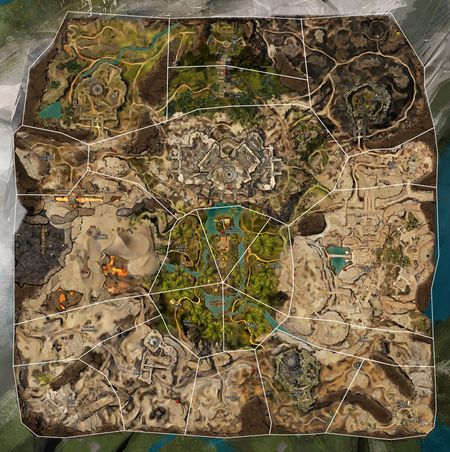
Work in Progress
We’ll scout the keeps and towers and record the firing level as well as the exact map position.
Seared Borderlands
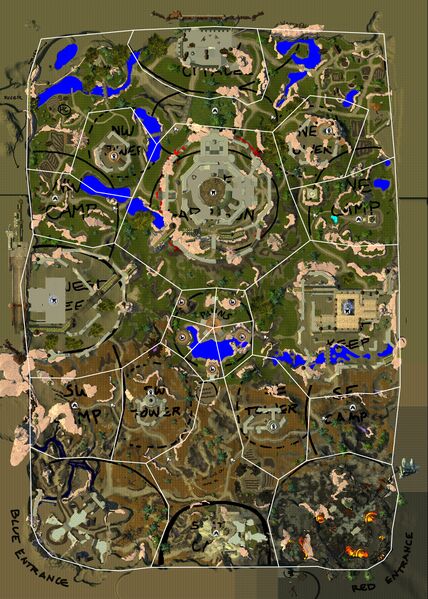
Work in Progress
We’ll test which walls take damage, which ledges give siege a clear shot and record the date each spot was tested.
BLUB Sneaky Spots
Work in Progress
We’ll add BLUB discoveries as we test them, including tucked-away build sites, unusual firing angles and double-wall shots. Each entry will show where to build, where to aim and why the spot works.
Catapult placement
One shot, two walls
- Find two separate destructible sections near a corner, seam or overlapping level. Have a scout identify each target and check its health.
- Build one catapult and fire a boulder near the join. If the shot hits a rock, ledge or decorative wall first, adjust the line or move the build site.
- Have the scout check both health bars after the same shot. If only one moves, adjust and retest before the squad spends more supply.
Useful call “Double hit confirmed. Both walls dropped off that shot. Build on this cata.”
A separate shot at each target is a useful two-target position. An outer and inner breach from the same hill can still take two aim settings. Catapult Mastery rank 3 increases the splash radius, so record who operated the proof shot. Catapult mechanics
Put the counter-siege where it can work
- Trebuchet behind a friendly gate
- Set back inside, with a clear arc to the ground where enemy rams are built. Have a spotter outside or on a safe wall angle call the first impact. A shot too high can leave the rams untouched.
- Shield generator near the threatened wall
- Place it out of the direct impact area if you can still put the dome in the incoming shot path. Against close catas, try from the friendly side of the wall. Against long-range fire, cover the target wall itself.
- Ballista off to the side
- Use a flank with a clear firing line to enemy siege. A straight shot into the parapet is a very expensive announcement that you brought a ballista.
MetaBattle’s objective defence guide · Current siege ranges and supply costs
See the markers in Blish HUD
Install Pathing from the Blish HUD Module Repo. Open the module’s marker pack repository, install Rediche’s World vs. World Marker Pack, then enable the relevant map’s siege markers. Use the markers to find the build site and read the placement notes in-game. The pack’s documented map coverage predates the Seared beta.
Rediche’s marker pack · Blish HUD Pathing · Rediche’s siege weapon guide
Adding a BLUB-tested spot
Stand on the exact build spot and open the map. Capture your player arrow, the objective name and a nearby landmark. Then take a ground-level screenshot facing the target and one from behind the built weapon. For a double wall, record both wall health bars before and after the same shot. Include the map colour, weapon, firing direction and date tested.